by guest blogger Robyn Jasko, cofounder of Grow Indie
If you’ve never had fresh fermented sauerkraut, you are really missing out. Unlike the cooked sauerkraut you get at the grocery store, which is soft and mushy, raw fermented sauerkraut has a crunchy bite that tastes delicious and is filled with probiotics, enzymes, vitamins, minerals, and digestive enzymes that work to break down your food, supporting the absorption of vitamins and minerals.
Don’t let the word fermentation freak you out—if you have eaten yogurt, had sourdough bread, or drunk a beer, you’ve had fermented foods before. Fermentation is a natural process that’s actually very good for you.
You can find fermented sauerkraut at your local health food store or Whole Foods, but it usually comes with a hefty price tag. Save money this year by making your own at home for a fraction of the cost.
How it works: The lactic acid created through the fermentation process (aka, lacto- fermenting) is a natural preservative that creates a lot of healthy bacteria that improve digestion. Generations ago, everyone ate fermented foods, and their probiotic bacteria are greatly missing from today’s American diet.
Fermented Sauerkraut
Ingredients:
- 1 head organic cabbage
- 1 Tablespoon kosher salt
- 1 Tablespoon caraway seeds (optional)
Crock setup:
- 1 ½-gallon mason jar
- 1 pint mason jar that fits inside the larger mason jar
- Lid for larger mason jar
Directions:
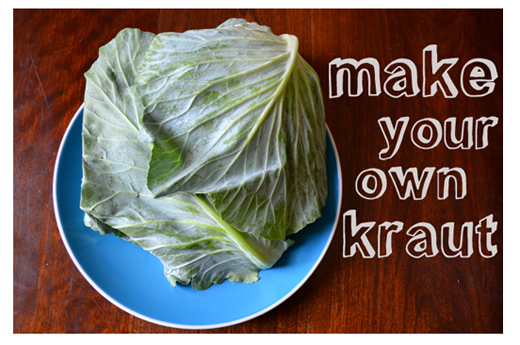
1. Wash cabbage, remove and save outer leaves.
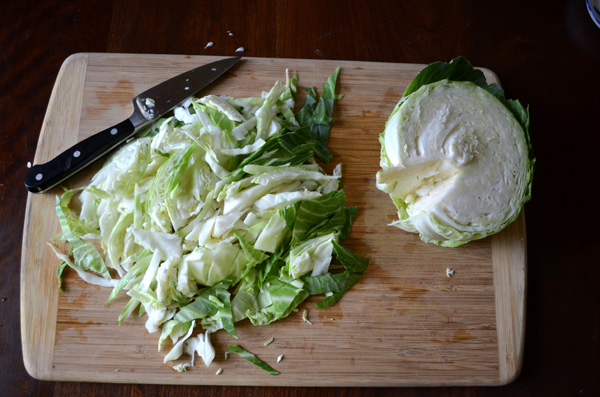
2. Cut cabbage in half, core it, and slice it thin (or, you can also throw it into a food processor and cut using the S-blade).
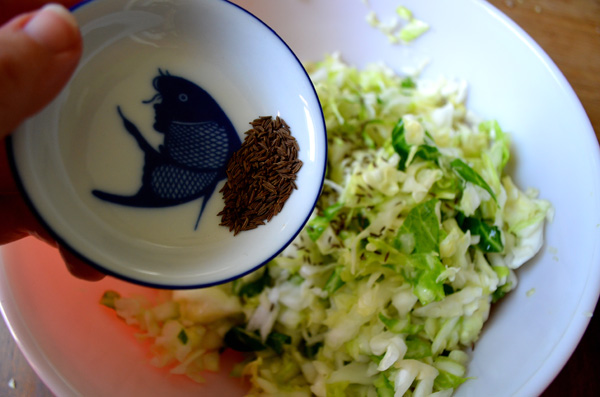
3. Put the sliced cabbage in a bowl and add the salt and the caraway seeds if using.
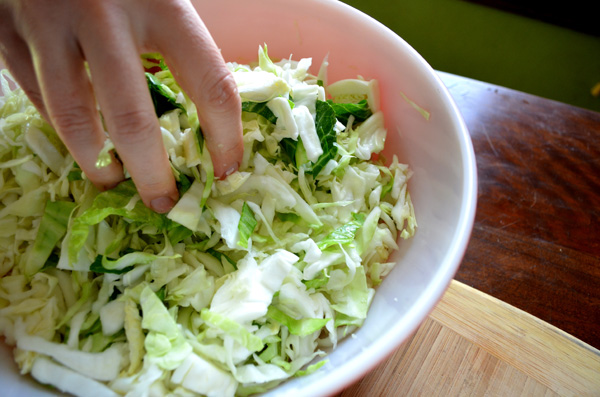
4. Crunch up the shredded cabbage with your hands until it releases the natural juices of the cabbage. This will take 5 to 10 minutes.
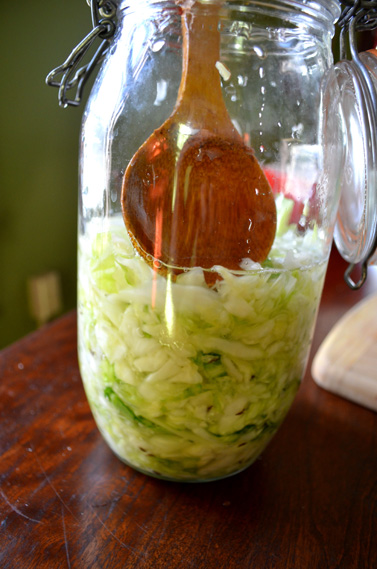
5. Add the cabbage to the large sterilized mason jar and push it down with a spoon. Keep pushing until the liquid covers the cabbage completely. You don’t want air to hit the kraut.
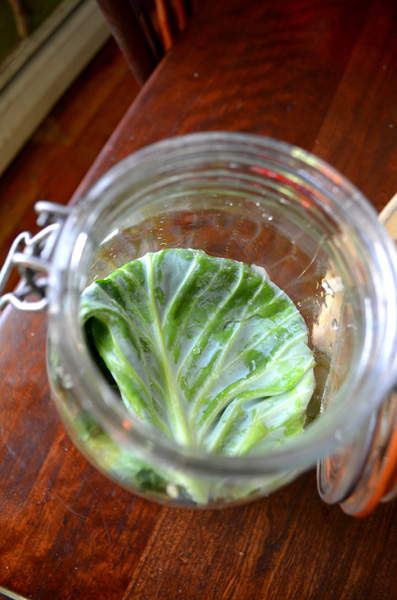
6. Add a large cabbage leaf to the top to seal it.
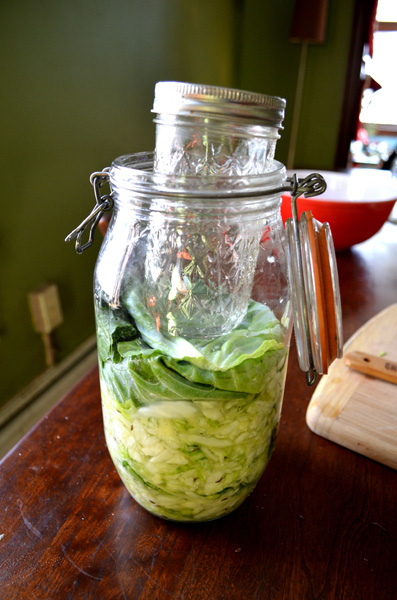
7. Put the smaller mason jar inside the large jar and push it down on top of the cabbage leaf so the entire thing is submerged in brine. If you don’t have enough brine, it’s OK to add a little water. In order for the kraut to ferment properly, it must be submerged under water the entire time.
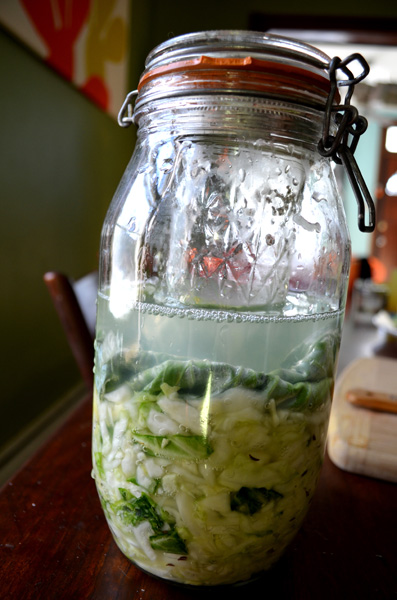
8. Put lid on and let this sit on your countertop, out of direct sunlight.
Sauerkraut will need between 2 and 6 weeks to fully ferment, depending on the temperature in your house (the warmer it is, the sooner it will ferment—65 to 72 degrees is ideal). Once the kraut develops that signature crunchy/salty/tangy flavor, you can then store it in the fridge for up to 6 months.
 Robyn Jasko, creative services director at Runner’s World magazine at Rodale, is a local-foods activist, community garden starter, and cofounder of Grow Indie, a site promoting sustainable lifestyles, homesteading, eating well, and living local. Her first book, Homesweet Homegrown: How to Grow, Make and Store Food, No Matter Where You Live, was released May 2012.




I have always wanted to make my own sauerkraut but every other recipe I’ve seen has been so complicated. This one makes the process so do-able! Thank you for that. I’m definitely going to try this!!
–Andrea
XOXOXO
I started making sauerkraut for the health benefits, and added some shredded carrots. I think it made it a bit too sweet. I used some kefir whey as a starter. I also purchased one of those german fermenting crocks, vs. using mason jars.
I need to try another batch with just cabbage and salt. No whey or no carrots. To see how that works for me. I may like the taste better.
Thanks for this article, I am going to post it on my Facebook page for all my fans 🙂
Will definitely try this. Thank you.
My grandma use to make kraut in her washing tub on her back porch right out side her kitchen, never knew how she did it, but she used the cabbage right outside of the back porch that my grandpa had in the garden from seed, they are both gone now, and all that’s left is one sibling, there was my mother, and my aunt Cecelia, and four brothers, I guess I will ask my one and only uncle if he remembers how his mother did this, but I will definitly try this method, love kraut and how it’s fragrance smells so good.
I would like to print this recipe for future use, how would I go about it, I also replied before this and would like to have feedback on both replys, thank you
Wow! I had no idea it could be this simple! Thank you so much for getting me on the bandwagon!
Just started a batch of kraut today. Can’t wait to taste it in a few weeks. Thanks so much for the recipe.
I used to make kraut with my mom, dad, and aunt a very long time ago. When we made it, we did it in a crock and covered it with a cloth and then every day or so would rinse out the cloth and put back on and do again. it was so good eating as it was being made. Why not use cloth in this recipe here? I will surely try this. Please let me know about the cloth.
Thanks
Hi I just loved the sound of 4 of your recipies today, the sourkrout, kale chips, broccoli cheese puffs & Eve’s hummus. I am going to try every one of them asap! I love vegies of all kinds & since I don’t have very many teeth anymore these are all doable for me & look delicious. My mom used to make sourkrout also in a large crock & we all loved it. Your jar style will be just right for me!
Thank You!!
I tried Sandor Katz’s method for making saurkraut. He has lots of experience and is very helpful in his directions. Made 3 batches and am loving it. Good for ones health. Carolyn
This website definitely has all of the information I needed about this subject
and didn’t know who to ask.
So is this eaten raw or cooked? I was thinking cooking it would kill so much of the goodness, but I’ve only ever heard of eating cooked kraut. Please let me know.
As to how to print it, highlight it all, copy it, paste into Word or similar, set up fonts, pics, margins so it fits on one page front and back, and print.
try this
For the best cole slaw ever try using partially fermented kraut! Let it go just long enough to slightly soften and develop a little tartness – it’s great! I have to start making it again. Just a word – if it develops a cloudy ‘scum’ don’t panic! Spoon it off and the krout is still good! I have a beautiful old crock I use, and early on I dumped a whole batch because I didn’t know that 😉
I think I’m missing something. If it is just cabbage and salt, where do the probiotics come from? Is the brine referred to in the article just the water from the cabbage, or is this something else to be added? Please forgive my ignorance…
Is there supposed to be a “brine recipe” here, i.e., the majority of the liquid in which the kraut is fermenting? If so, recipe, please, and amount required? Thanks.
Touche. Great arguments. Keep up the good work.
As Rob pointed out, there seems to be something missing here… step five states, “Keep pushing until the liquid covers the cabbage completely,” but there is no liquid listed in the ingredients.
Hi is it supposed to get really smelly after a week of fermenting ?
I am concerned about the metal lid on the small jar. Could this jar, with out the lid, be turned over so the top would be pressing against the cabbage leaves; and the bottom pressing against the top of the big jar; that would keep the same pressure weighting down the sauerkraut, or is there another way to keep the sauerkraut submerged?
The brine, or liquid she is referring to is created by squeezing the cabbage with the salt on it. It creates a brine/liquid. If there is not enough created to fully cover it after you’ve massaged/squeezed it for 10 minutes, add a little water or salt water (I use 1 c water mixed with 1 tsp salt) on top of it to keep it submerged. You can use any heavy glass item to weigh it down..you don’t have to keep the lid on the smaller jar. I have used shot glasses in smaller jars. As it ferments, the little bacteria grows…this is the fermenting part that creates the good probiotics that you get from kraut.
Thank you, Lucy!
Do you have to check the cabbage during the fermentation period to make sure it is covered with liquid, and if so when you open the jar (which you stated must be sterilized) will it become unsterilized and does it matter? Also once it is done fermenting do you drain off the liquid, if any, and can you put it into smaller jars? I love your presentation with the pictures. Is very helpful.
Thanks, Brenda
Sealing the big jar during fermetaion will make an explosion. You need to let air get out or you might get hurt.
Great blog you have here.. It’s hard to find quality writing
like yours nowadays. I honhestly appreciate individuals
like you! Take care!!
I make mine in a mason jar too.. http://earthlychow.com/the-easy-foolproof-way-to-make-your-own-probiotic-fermented-sauerkraut
This is a great recipe, I appreciate the pictures to guide us along the way of making the recipe! It seems super easy and you did a good job at explaining how to do it. Can’t wait to tackle this recipe at home!
WHEN AND HOW MUCH SALT DO YOU ADD??? DO YOU ADD IT TO THE TOP OF THE CABBAGE AFTER IT’S FINISHED??